How to Make Pour-Over Coffee (Beginner Guide)
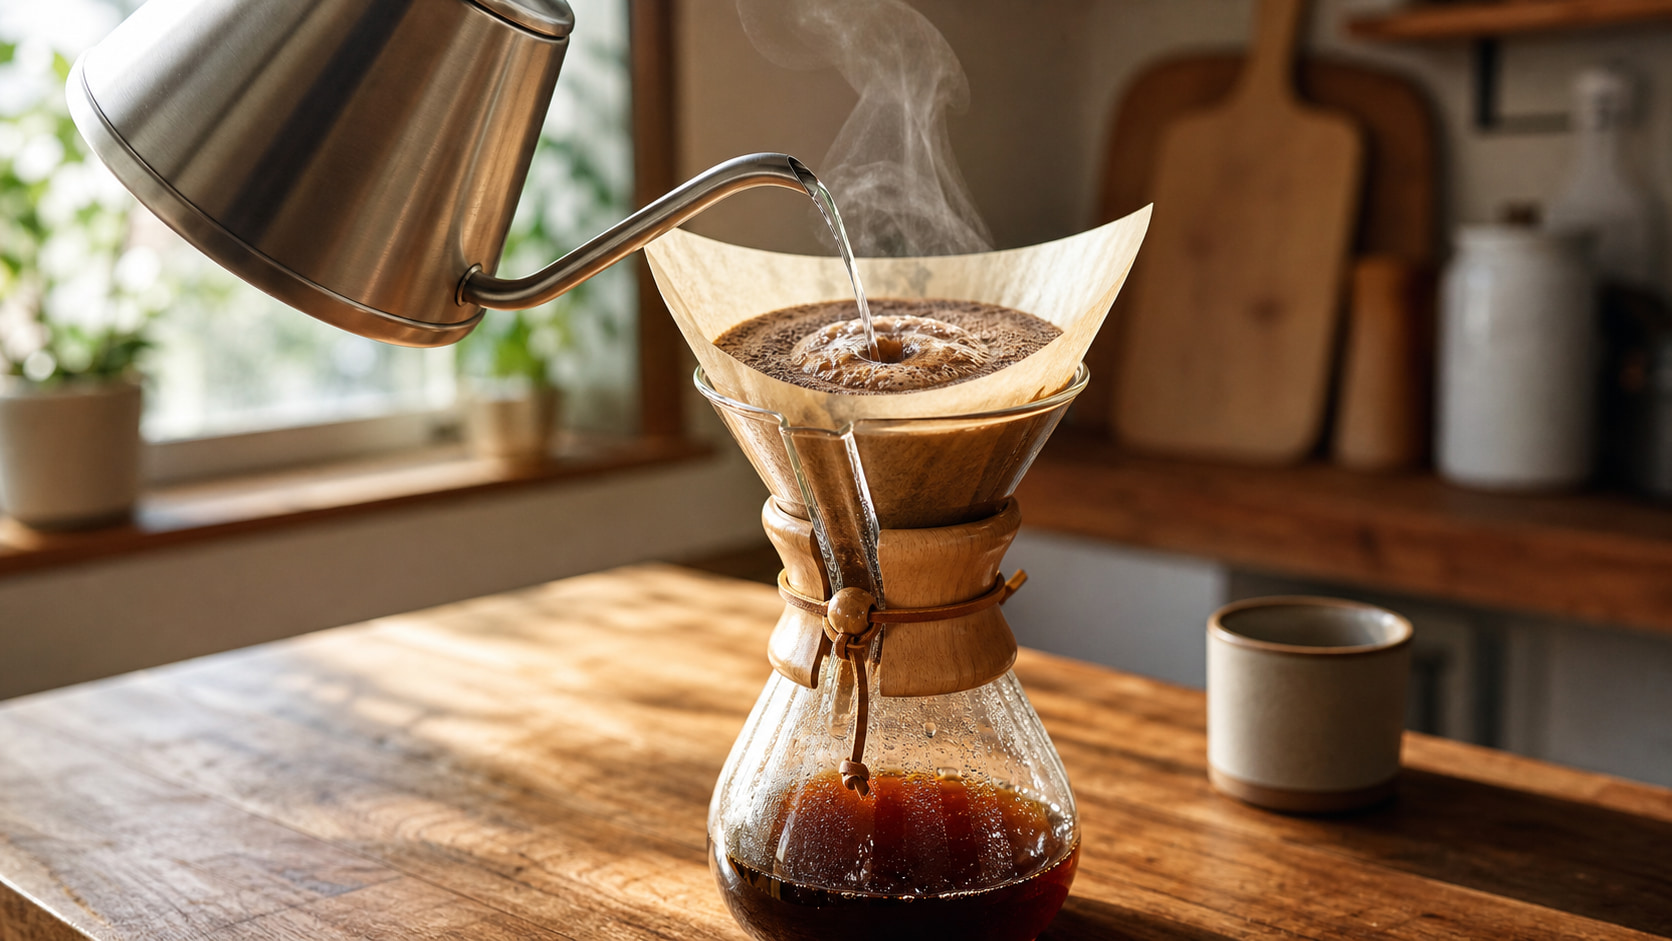
Learning how to make pour-over coffee is the most reliable upgrade you can give your morning cup, and it takes about the same three minutes as a machine you have to babysit. This guide is for anyone with a cone dripper — or the urge to buy one — who wants a clean, sweet, repeatable brew without barista jargon. You’ll get the gear, the ratio, the grind, and a step-by-step pour you can lean on every day.
Why pour-over is worth learning
Once you learn how to make pour-over coffee, you control every variable that matters — how much coffee, how hot the water, how fast it drains — so a good cup stops being luck. The paper filter traps oils and fine sediment, which is why pour-over tastes so clean and bright next to a French press.
It’s also cheap to start and quiet to run: no pod waste, no loud pump machine, just a calming little ritual. Best of all, the skills carry over. Nail pour-over and you understand ratio, grind, and extraction well enough to improve every other brewer in your kitchen.
- Clarity: the paper filter gives a clean, tea-like cup.
- Control: you set the ratio, temperature, and pace.
- Low cost: a dripper and filters cost less than a week of cafe coffee.
- Repeatable: once dialed in, your Tuesday cup tastes like your Sunday one.
What you need to start
You need surprisingly little. The heart of how to make pour-over coffee is a cone-style dripper and matching filters; everything else just makes it easier and more consistent.
- A dripper (a V60, a Kalita Wave, or any flat-bottom cone) plus paper filters
- Fresh whole beans and a burr grinder
- A kitchen scale that reads to 1 g
- A kettle — a gooseneck helps, but any kettle works
- A mug or a small carafe
If you’re on a budget, a plastic dripper and a basic scale get you most of the way. A gooseneck kettle and a burr grinder are the two upgrades that make the biggest difference later, so add those when you’re ready.
The ratio and grind
Start with a coffee-to-water ratio around 1:16 — that’s 1 gram of coffee for every 16 grams of water, or about 22 g of coffee to 350 g of water for a large mug. Weigh both if you can; volume scoops drift wildly. If you want to go deeper, our full coffee-to-water ratio guide breaks down every method.
Grind matters just as much. Aim for a medium grind that feels like table salt or coarse sand — coarse enough to drain in a reasonable time, fine enough to extract sweetness. Too fine and the bed clogs and turns bitter; too coarse and the water rushes through sour and thin. The coffee grind size chart shows exactly what to look for.
Step-by-step: the pour
Here’s the routine, start to finish. Once it’s muscle memory, the whole thing takes about three minutes.
- Boil water and let it settle to about 93°C (200°F).
- Put a filter in the dripper and rinse it with hot water to wash away paper taste and warm the mug; discard that water.
- Add your ground coffee, tap it level, and zero the scale.
- Pour just enough water to wet all the grounds (about twice the coffee’s weight) and wait 30–45 seconds for the bloom.
- Pour the rest slowly in steady circles, keeping the bed topped up but not flooded, until you hit your target weight.
- Let it finish dripping. A total brew time of about 2.5–3.5 minutes is the sweet spot.
Give the dripper a gentle swirl or tap at the end to settle the bed, then lift it off and enjoy.
The bloom, explained
The bloom is that first small pour where the coffee puffs up and bubbles. Fresh grounds are full of trapped carbon dioxide, and that gas gets in the way of even extraction. Wetting the coffee first lets it degas so the main pour can soak in evenly.
Use roughly two to three times the coffee’s weight in water for the bloom — about 45 g for a 22 g dose — and give it 30 to 45 seconds. A lively, dome-shaped bloom usually means fresh beans; a flat, lifeless one often means the coffee is past its prime.
Fixing bitter or sour coffee
Two tastes tell you almost everything. Bitter, harsh, and drying usually means over-extraction: grind a little coarser, cool the water slightly, or pour a touch faster. Sour, sharp, and thin usually means under-extraction: grind finer, use hotter water, or slow the pour down.
| Cup tastes | Likely cause | Try this |
|---|---|---|
| Bitter, harsh, drying | Over-extracted | Grind coarser, cooler water, pour faster |
| Sour, sharp, thin | Under-extracted | Grind finer, hotter water, pour slower |
| Weak but not sour | Too little coffee | Use more coffee (lower the ratio) |
Change one thing at a time so you know what worked. For a deeper diagnosis, see our guide on why is my coffee bitter.
Simple upgrades
When you’re ready to level up, add these in rough order of impact:
- A burr grinder for even particles and a cleaner cup.
- A gooseneck kettle for a slow, aimable pour.
- A variable-temperature kettle so you can hold 90–96°C without guessing.
- Fresh, single-origin beans with a visible roast date.
None of these are required to make great coffee, but each one removes a little guesswork. Buy them one at a time and taste the difference before moving on — that way you learn what each change actually does.
Frequently asked questions
How long should a pour-over take?
Aim for a total brew time of about two and a half to three and a half minutes for a single mug, including the bloom. If it drains much faster, your grind is likely too coarse; much slower and it’s probably too fine. Adjust the grind, not the pour, to steer the time.
What’s the best pour-over ratio for one cup?
Start at 1:16 — about 20 to 22 grams of coffee to 320 to 350 grams of water. If that tastes strong, move toward 1:17; if it tastes weak, go to 1:15. Weigh your coffee and water so you can repeat what you like.
Do I really need a gooseneck kettle?
No. A gooseneck gives you a slower, more precise stream, which makes an even pour easier, but you can brew excellent coffee with any kettle. Pour gently and keep the water off the filter walls, and you’ll be fine while you save up for one.
Can I make pour-over without a scale?
Yes, though a scale makes results far more repeatable. As a rough guide, use about two level tablespoons of ground coffee per 180 ml (6 oz) of water, then adjust to taste. Once you can, weigh instead — it’s the single easiest consistency upgrade.
Pour-over rewards attention without demanding perfection. Dial in your ratio, get the grind close, and pour with a little patience — the rest is small tweaks you’ll actually enjoy making. Keep the guides below within reach, brew a cup tomorrow morning, and it’ll be a little better than the one before.
Last updated: July 6, 2026


Comments
Post a Comment